Revolutionizing Web Design: The Power of Visual HTML Editors
A paradigm shift is occurring in web development, and visual HTML editors are emerging as a formidable force. These novel tools surpass the constraints of conventional text-based coding by implementing a graphical user interface that enables the manipulation of HTML code.
This progression represents a shift towards more intuitive design practices, allowing developers and designers to interact with code visually. This methodology facilitates many benefits, including optimizing processes and promoting a more cooperative atmosphere.
This comprehensive guide is an in-depth resource, providing you with the knowledge to effectively utilize a visual HTML editor in web development endeavours. In this discussion, we will investigate and propose pragmatic approaches to ensure a smooth transition into your development workflow.
Why Use a Visual HTML Editor?
The appeal of visual HTML editors resides in their capacity to substantially improve the effectiveness, inclusivity, and cooperative characteristics of web development. Let’s further explore these fundamental advantages:
1. Design and Development Efficiency
A drag-and-drop interface is implemented in visual HTML editors, which facilitates the design process. This methodical approach results in significant time efficiency, enabling you to concentrate on refining the more intricate aspects of your design.
Moreover, visual editors are equipped with instantaneous previews, which eliminates the need for frequent transitions between the code and a distinct display window, thereby promoting a more fluid and efficient development process.
In addition, many visual editors provide immediate feedback regarding modifications made to the code. By flagging tense or syntactical errors in real-time, these obstacles can be prevented from escalating during development.
2. Accessibility for Non-Coders
Conventionally, entry into the field of web development necessitated a solid grounding in programming languages such as HTML and CSS. Visual online HTML editors facilitate web development for users with limited coding expertise by reducing this barrier.
Consider the case of graphic designers, who can produce visually appealing compositions using the visual interface rather than delving into intricate code structures. Content creators can gain a renewed sense of authority over their online presence by utilizing visual editors to construct rudimentary web pages for blogs or landing pages.
3. Enhanced Collaboration
Visual HTML editors facilitate a more collaborative environment by serving as a link between designers and developers. The drag-and-drop functionality allows designers to manipulate and test layouts and designs in real-time while developers can access and alter the underlying code invisibly.
In addition, many visual editors incorporate communication functionalities that enable team members to provide feedback and comments directly within the editor’s interface. This facilitates a design process that is more transparent and iterative, culminating in an enhanced final product.
Key Features to Look for in a Visual HTML Editor
The visual HTML editor you select can substantially impact the workflow during development. Consider the following breakdown of essential features:
Responsive Design Assistance
Your web pages must be mobile-responsive in today’s society. A good visual editor should have responsive layout tools. Look for drag-and-drop grid systems and media query editors to easily optimize designs for different screen sizes.
Integration Capabilities
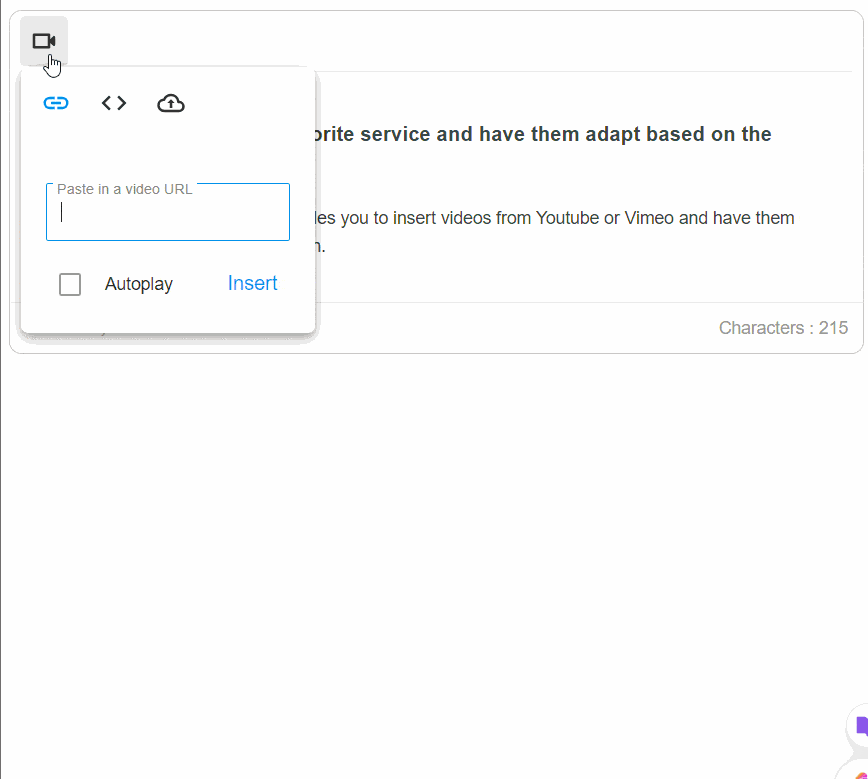
A visual HTML editor with your development tools can improve your process. Compatible frameworks like Bootstrap and React make visual design and code implementation easy. Additionally, CMS integration simplifies webpage publishing.
Customizable UI Components
Different projects have different design needs. A versatile visual editor should have many adjustable UI elements. This can consist of pre-designed components such as navigation bars, forms, and icons that are simple to modify to reflect your brand identity. Use editors with color, font, and spacing adjustments to preserve consistent visual language.
Comprehensive Documentation and Support
Excellent documentation and assistance are essential, even with a simple interface. Find editors with extensive tutorials, clear API references, and active online communities to answer queries and troubleshoot issues.
Implementing a Visual HTML Editor in Your Projects
Integrating a visual HTML editor into your workflow can be a seamless process. Here’s a general overview:
- Choosing the Right Tool: Assess project complexity, team expertise, and desired design flexibility. Explore free/paid options and utilize trial versions.
- Familiarization & Integration: Explore editor tutorials and documentation. Integrate the editor with your existing development pipeline (version control).
- Workflow Integration: Leverage real-time previews for efficient iteration. Facilitate designer-developer collaboration using built-in communication features.
- Optimization & Deployment: Utilize export functionalities to generate clean code. Deploy your webpage and leverage editors for future updates and maintenance.
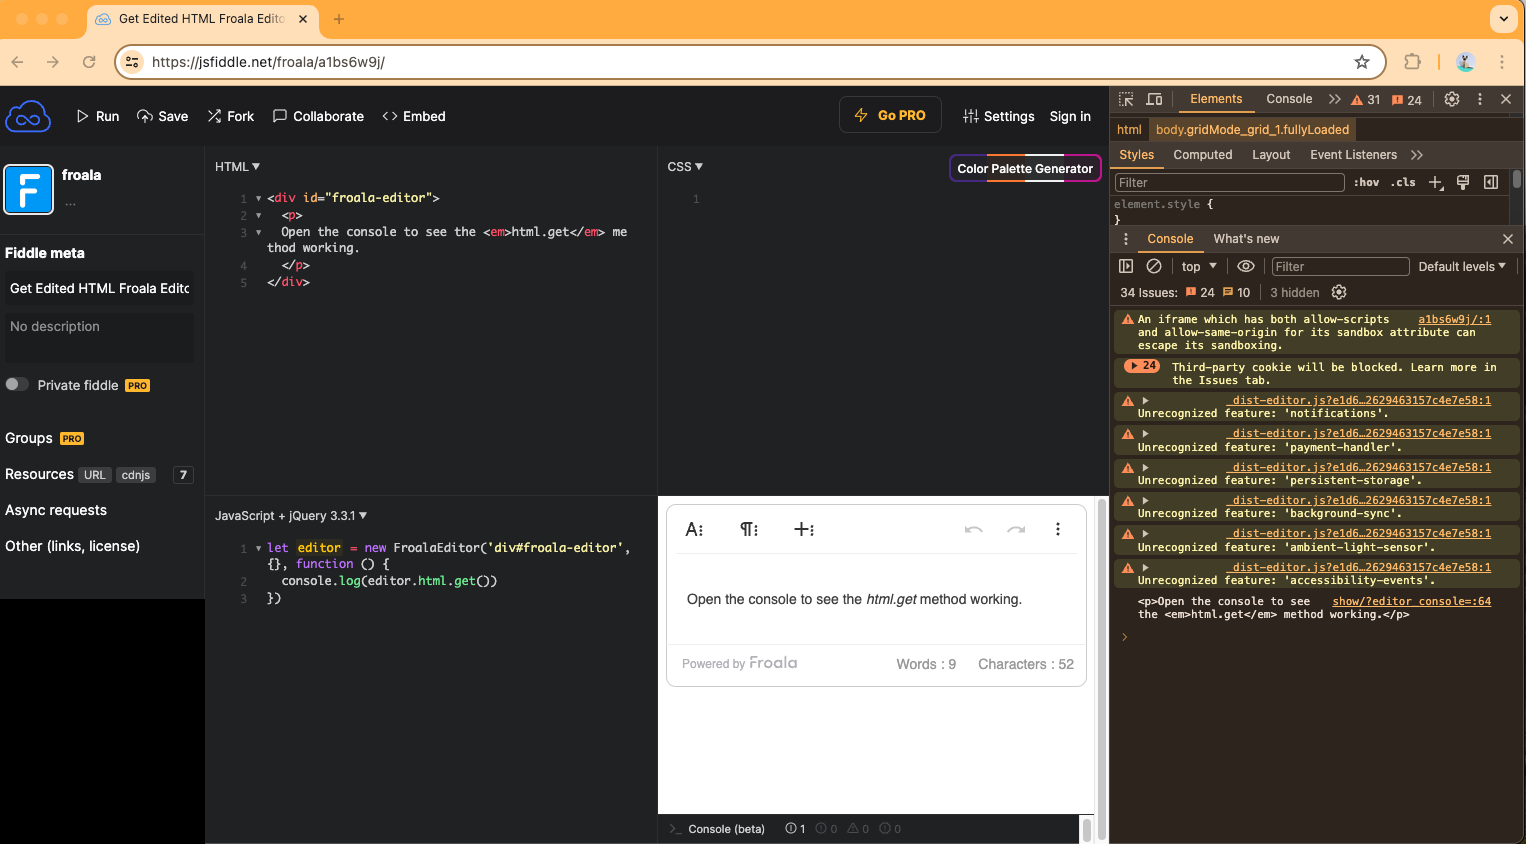
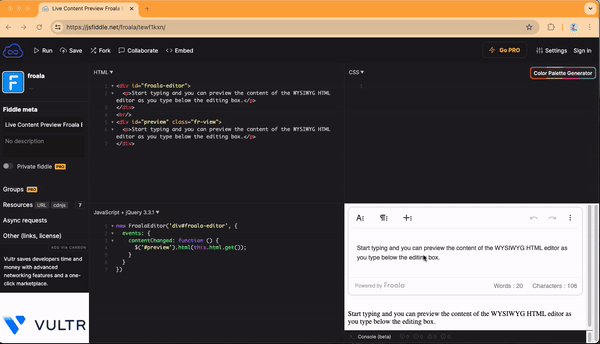
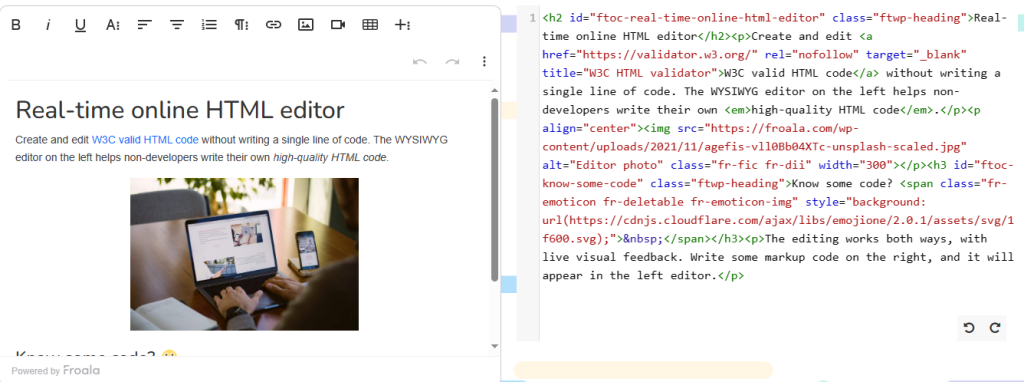
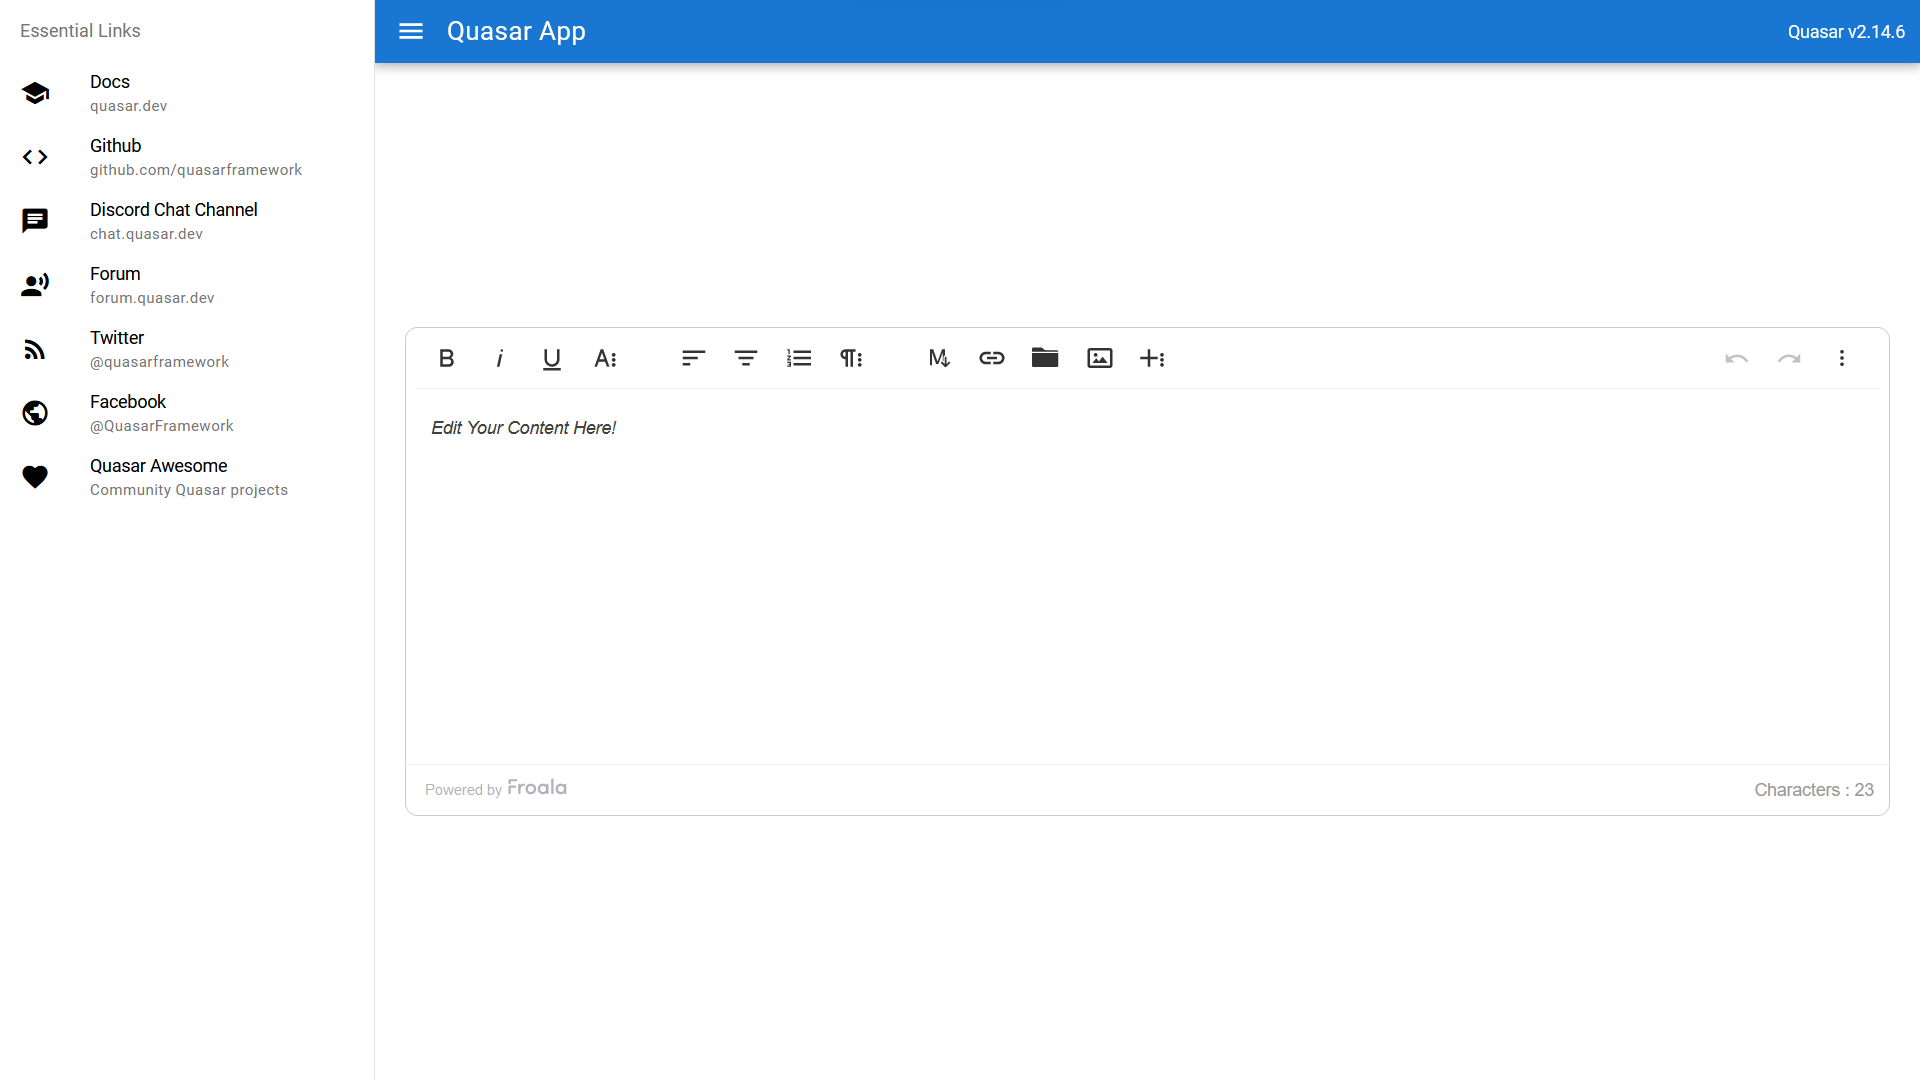
A Powerful Example of Visual HTML Editors: Froala
While many visual HTML editors exist, Froala is a sophisticated solution designed to empower modern web development teams. Froala’s easy UI and smooth integration enable designer-developer collaboration.
It’s flexible customization and feature set meet project needs, ensuring a smooth process. Consider exploring Froala to experience the transformative power of visual HTML editors in your next project.
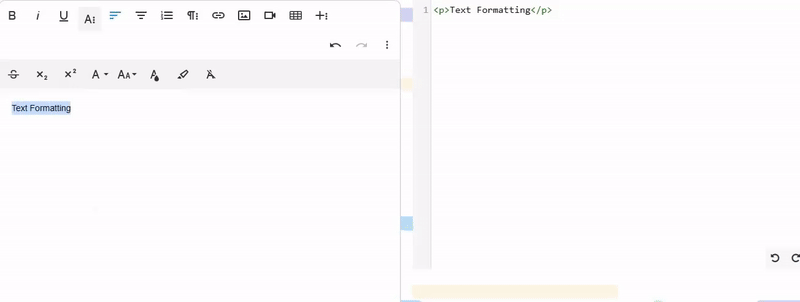
Visual Power: A Side-by-Side Comparison
Imagine the difference between carefully writing code to design a webpage and easily dragging and dropping elements into a visual canvas. Here’s a sneak peek into the efficiency that visual HTML editors provide:
Traditional HTML Editor
This manual code demonstrates how HTML pages are traditionally created without a visual HTML editor. So, whenever you need to change your webpage, you must edit your code.
<!DOCTYPE html>
<html lang="en">
<head>
<meta charset="UTF-8">
<meta name="viewport" content="width=device-width, initial-scale=1.0">
<title>Traditional HTML Coding</title>
<style>
body {
font-family: Arial, sans-serif;
background-color: #f0f0f0;
margin: 0;
padding: 0;
}
header {
background-color: #333;
color: #fff;
padding: 10px;
text-align: center;
}
nav {
background-color: #444;
color: #fff;
padding: 10px;
text-align: center;
}
section {
padding: 20px;
}
footer {
background-color: #333;
color: #fff;
padding: 10px;
text-align: center;
position: fixed;
bottom: 0;
width: 100%;
}
</style>
</head>
<body>
<header>
<h1>Traditional HTML Coding</h1>
</header>
<nav>
<ul>
<li><a href="#">Home</a></li>
<li><a href="#">About</a></li>
<li><a href="#">Contact</a></li>
</ul>
</nav>
<section>
<h2>About Us</h2>
<p>Lorem ipsum dolor sit amet, consectetur adipiscing elit. Integer nec odio. Praesent libero.</p>
</section>
<footer>
<p>© 2024 Traditional HTML Coding</p>
</footer>
</body>
</html>
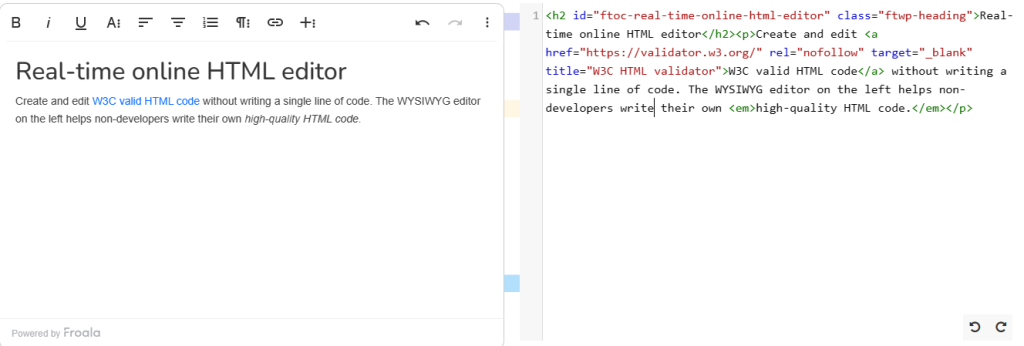
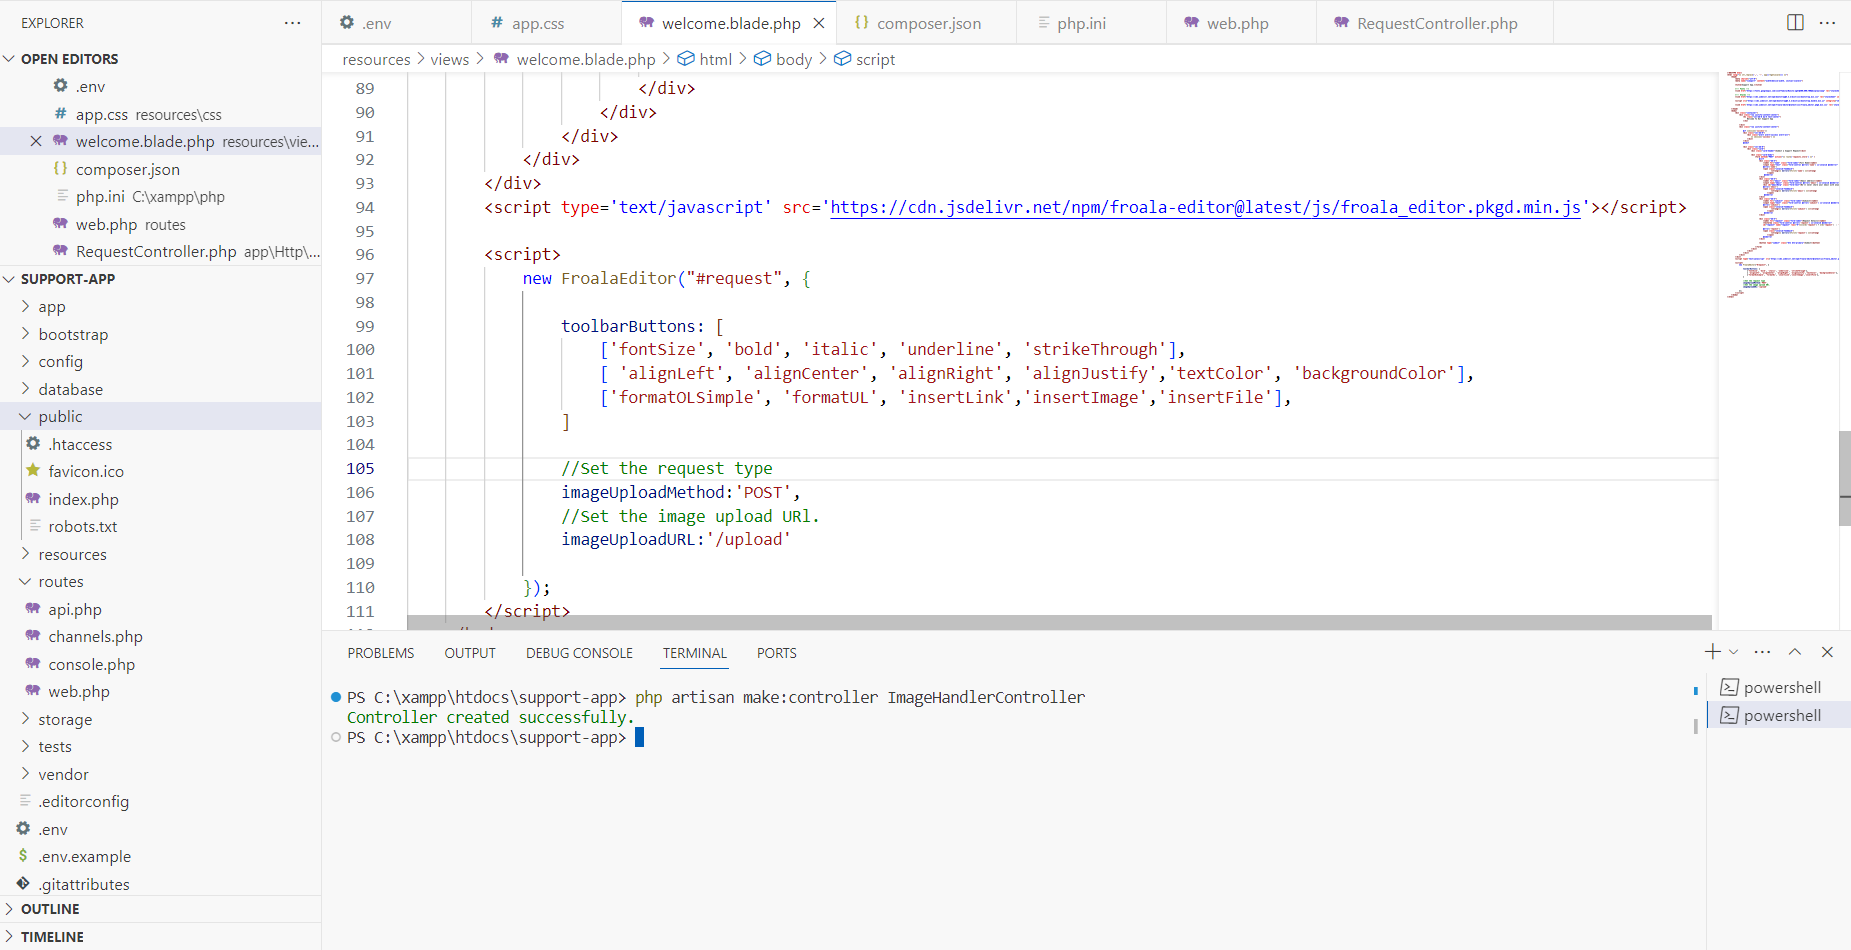
Visual HTML Editor
This code creates a basic HTML framework and includes the necessary CSS and JavaScript files to integrate Visual Froala Editor. It then sets up the editor for the header, navigation, section, and footer elements, allowing users to change material visually on the webpage.
<!DOCTYPE html>
<html lang="en">
<head>
<meta charset="UTF-8">
<meta name="viewport" content="width=device-width, initial-scale=1.0">
<title>Using Froala Visual HTML Editor</title>
<link rel="stylesheet" href="https://cdnjs.cloudflare.com/ajax/libs/froala-editor/4.0.2/css/froala_editor.pkgd.min.css">
</head>
<body>
<header contenteditable="true">
<h1>Using Froala Visual HTML Editor</h1>
</header>
<nav contenteditable="true">
<ul>
<li><a href="#">Home</a></li>
<li><a href="#">About</a></li>
<li><a href="#">Contact</a></li>
</ul>
</nav>
<section contenteditable="true">
<h2>About Us</h2>
<p>Lorem ipsum dolor sit amet, consectetur adipiscing elit. Integer nec odio. Praesent libero.</p>
</section>
<footer contenteditable="true">
<p>© 2024 Using Froala Visual HTML Editor</p>
</footer>
<script src="https://cdnjs.cloudflare.com/ajax/libs/froala-editor/4.0.2/js/froala_editor.pkgd.min.js"></script>
<script>
document.querySelectorAll('[contenteditable="true"]').forEach(element => new FroalaEditor(element));
</script>
</body>
</html>
Conclusion
Visual HTML editors revolutionized web development. Designers and developers can use simplified processes to build beautiful and useful web experiences. More productive and exciting production with real-time previews, seamless collaboration, and clean, well-structured code.
As web development evolves, visual HTML editors open new doors. Explore these technologies’ revolutionary potential. Consider Froala, a smart visual editor for modern web development. Froala lets you optimize your process and unleash your creative ideas, shaping web design with its straightforward interface, rich functionality, and seamless integration.