Rapidly Deploy A Powerful WYSIWYG HTML Editor In Your Angular JS Apps
- Posted on
- By Jennifer Luchu
- In Editor, General
Table of contents
- How do you set up the Angular Plugin for the WYSIWYG editor?
- What if you prefer to use the editor with Angular CLI?
- How do you use the plugin on the Ionic App (v2 or v3)?
- How do you use the Angular plugin with webpack?
- Are you able to create an angular-seed app?
- Can you implement the Angular2 plugin in system.js and JIT?
- How exactly do you run the Angular2 plugin on aot?
- What are some options recognized by the editor?
- What are content models in the HTML editor?
- What are the manual Initializations to take note of?

Angular is a versatile development platform, built on TypeScript. As a platform, Angular has many incredibly useful features. These features include a component-based framework that lets you easily build scalable web apps as well as a collection of integrated libraries that play very well together. Some of these libraries include features like forms management, client-server communication, and routing, to name a few.
Finally, Angular gives you the developer tools that let you easily create, build, test, and update your code. It also gives you the advantages of a platform that scales as you need it to. You can create everything from a solo project to an enterprise-level application.
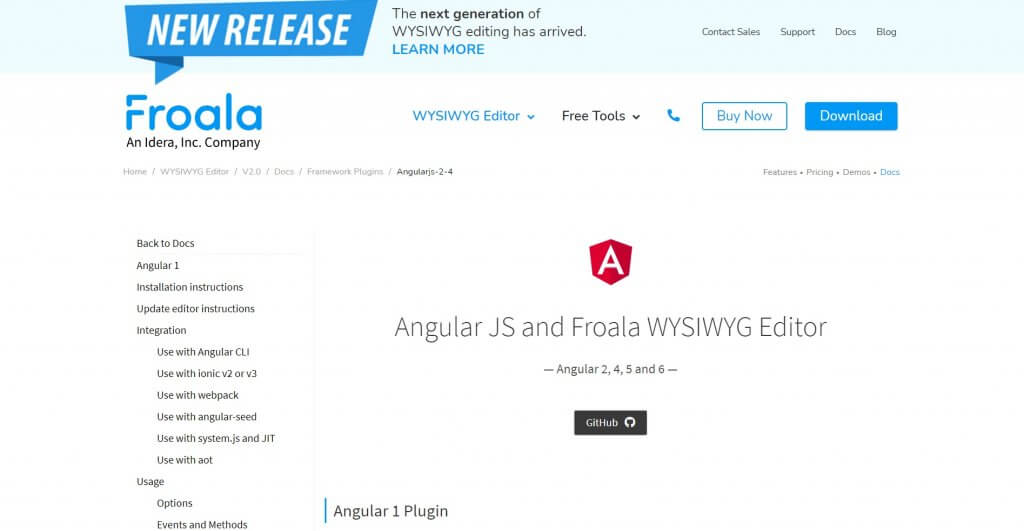
Best of all, it’s simple to integrate the Angular plugin with Froala’s Powerful HTML Editor. The plugin is available for installation on the Angular JS and Froala WYSIWYG Editor documentation plugin pages.
How do you set up the Angular Plugin for the WYSIWYG editor?
The Angular 1 plugin offers up-to-date integration with the Froala rich text editor. To get started, just download the components by initiating npm install angular-froala-wysiwyg. You will need to grab the CSS stylesheet to show the editor UI in the console. If you plan on updating the editor instructions, type in npm update froala-editor to save your changes.
What if you prefer to use the editor with Angular CLI?
If you have not generated an application yet, it is important that you install @angular/cli from npm to launch a new app. Then, add the angular-froala-wysiwyg package by opening the file path: src/app/app.module.ts and proceed to import the Froala Editor/View modules. You can route it into a root module with the forRoot() method to separate it from the provider service.
Open up the angular.json file and write a new entry in the styles array so that the CSS is minified. Repeat this step under “scripts” but with the JS file instead. Now, get the app component’s HTML and paste in the “Hello, Froala!” container. Run angular-cli with ng serve and you’re good to go.
How do you use the plugin on the Ionic App (v2 or v3)?
Once again, you can skip this section if your app is already generated. In order to make an Ionic app, from npm install -g cordova ionic and add the samples. Next, you need to include angular-froala-wysiwyg to save the editor using npm bash. Check that you have the latest version of ionic installed.
Inside the app component HTML, insert an <ion-app> div with the ion router. Run the .ts file and fetch the Angular2 plugin by accessing the Froala Editor/View modules. Substitute the browser imports with a forRoot() app routing module as shown in the Angular tutorial. In the .ts module, delete the line stating “path” and “redirect to”.
Before you run Ionic, include all the stylesheets and js scripts. Finish the process by setting the outpath to “outputPath: src/assets” and add the output assets.
How do you use the Angular plugin with webpack?
To use the Angular plugin with Webpack, you need to create a webpack app by importing a GitHub copy through npm install. Open the app module to import the Froala Editor plugin. Also import the Angular plugin stored under angular-froala-wysiwyg. From here, you need to route a series of forRoot() modules and rely on the app component using the usual procedure. Insert the div container and open config/webpack.dev.js. Add the constants, resolve, and plugins object for CopyWebpackPlugin.
Go to the config/webpack JS file and pass in webpack to the require() method. Paste the code for transferring the assets into CopyWebpackPlugin while making a new entry for the stylesheets. Call npm run start to use the webpack app.
Are you able to create an angular-seed app?
You certainly are, and here is how? Clone the repository on GitHub and install the angular-froala-wysiwyg editor from npm . To modify project settings, you can uncomment the “import from seed” config line. In the same file, add links for minified CSS and JS as a collection of npm dependencies.
For the extended packages, you will have to select either the developer or product build and get the bundle path with this.addPackagesBundles() by passing in additionalPackages. Be sure to open the client app’s home module prior to importing the Angular2 plugin so you can enable forRoot routing to grab the component file. To run webpack, you should call npm run start.
Can you implement the Angular2 plugin in system.js and JIT?
Yes, the Angular plugin supports system.js and JIT as well. Follow the same steps as mentioned earlier to construct an Angular app. Remember to save angular-froala-wysiwyg after installing it. Link to the stylesheets and script in the src/index.html file.
Integrate the Angular2 plugin with the .ts app module. Import the @NgModule then, open the component file to paste the HTML snippet. The only difference here is that you have to include a map object containing the angular-froala-wysiwyg bundles as a JS file before you can run the app on npm.
How exactly do you run the Angular2 plugin on aot?
To run the Angular2 plugin on aot, you begin by making an Angular app to initialize ng new froala-aot. Download font-awesome and the froala-editor to display the front-end. Go to angular.json and replace architect.build.outPath with src/dist. Paste in the specified code block to generate assets for the text editor. Then, Update the scripts from build to aot, and start to serve in package.json.
Repeat the previous steps to download angular-froala, open the index file, and add all the links for visual content. Get the Angular2 plugin ready and import the @NgModule. The Froala Editor must be inside the template when you run the actual app.
What are some options recognized by the editor?
As the user, you can pass in editor options to customize a variety of content blocks. These are listed in the Froala documentation. Simply edit the public options dictionary with your own content. Here, you are able to synchronize the Angular model after a key release.
Likewise, you can pass in events and methods. For instance, if you need to pass in an instance of the editor, you can use the built-in callback function’s arguments. There are a number of methods you can reference in the docs.
What are content models in the HTML editor?
The content model [(froalaModel)] has a default value of “editorContent”. Define a public string set equal to your document title. To apply this content, you need a two way binding input of the ngModel. Copy and paste the reactive form HTML if you want to show a submit form. One neat feature is the ability to wrap a froalaEditor directive into a component for reactive forms.
Similarly, you can extend particular functionalities, namely through the OnInit component from the Angular core. Declare a variable and proceed to upload a button that already has a demo selector and template. Try to tweak the commands for the title, focus, undo, and refresh behavior.
You can assign toolbar buttons in the public options object with your preferred format. As for the special tags, they affect the images, buttons, inputs, and links. The model will adapt to any changes in the attributes while the element is being used. One example is Public buttonModel, which has an innerHTML for specifying the button text.
In the event you need to update special tags, you should declare a public object called inputOptions, to pass in the class and id.
What are the manual Initializations to take note of?
This process involves operating on the editor directly: The user has to create, get or even destroy an editor instance rather than letting the editor run its course. Notice how the initialize function is designed with various methods to assign the HTML and adjust the controls. Once you create an editor, you’ll be able to call the getEditor method. It is just as easy to destroy the editor.
Last but not least, the froalaview model provides a directive to display content made in the froala editor. This model is activated by including the froalaEditor and froalaModel templates in the editorContent divs.
Still having trouble integrating the editor in AngularJS? You are more than welcome to read the tutorial in its entirety.
Want to find out more about the Froala WYSIWYG HTML Editor? Take a look!
Jennifer Luchu
Jennifer Luchua former writer for Froala, showcased exceptional talent and dedication during their tenure with the company.
-
Hide Show


No comment yet, add your voice below!