Sencha Ext JS Apps With The Froala WYSIWYG HTML Editor
- Posted on
- By Emad Bin Abid
- In Editor, General

When it comes to choosing a JavaScript framework and a WYSIWYG editing tool, it is important that they play well together. Making poorly matched choices can have some pretty severe consequences. At best, you may find your solutions lacking key functionality. At worst, you may find yourself suffering from integration and performance issues that require time-consuming workarounds or total code rewrites to fix.
That is why the Froala Editor and Sencha Ext JS are a great choice for your development environment — they were developed to get along.
Froala Editor is a lightweight next-generation WYSIWYG HTML Editor that developers can easily integrate into their applications. The Froala web editor is written in JavaScript and enables rich text editing experiences in your applications. Successful companies like Samsung, Apple, IBM, Intel, and Salesforce are changing the world, and they use Froala.
Sencha Ext JS is the most comprehensive JavaScript framework for building data-intensive, cross-platform web and mobile applications. You can run them on any modern device. Ext JS includes 140+ pre-integrated and tested high-performance UI components.
In this article, we’ll look at how we can use Sencha Ext JS with Froala WYSIWYG HTML Editor to supercharge your JavaScript apps.
What is an easy way to install Froala Editor with Sencha Ext JS?
To install Froala in your Ext JS development environment, you can either use npm or a Sencha Cmd package. Find them hosted on Sencha’s CDN.
To install Froala via npm, log in to the Sencha npm repository using the following command.
npm login --registry=https://npm.sencha.com --scope=@sencha
Now, navigate to your ext-gen project and run the following command to install the Froala Editor.
npm install @sencha/ext-froala-editor
Finally, configure your Ext JS app to use the new package by registering froala-editor to the requires array in app.json.
If that sounds like a bit much, then installing via Sencha Cmd is even easier. You just need to configure the Ext JS app to use the new code package by updating the app.json file. once that is updated, Sencha Cmd will automatically download and install the Froala Editor dependency the next time you build your application.
In both cases, you have to register the Froala path to the workspace.json packages.dir string as follows:
"packages": {
    "dir": "...,${workspace.dir}/node_modules/@sencha/ext-froala-editor",
    ...
}
How can I configure and use Froala Editor in Sencha Ext JS apps?

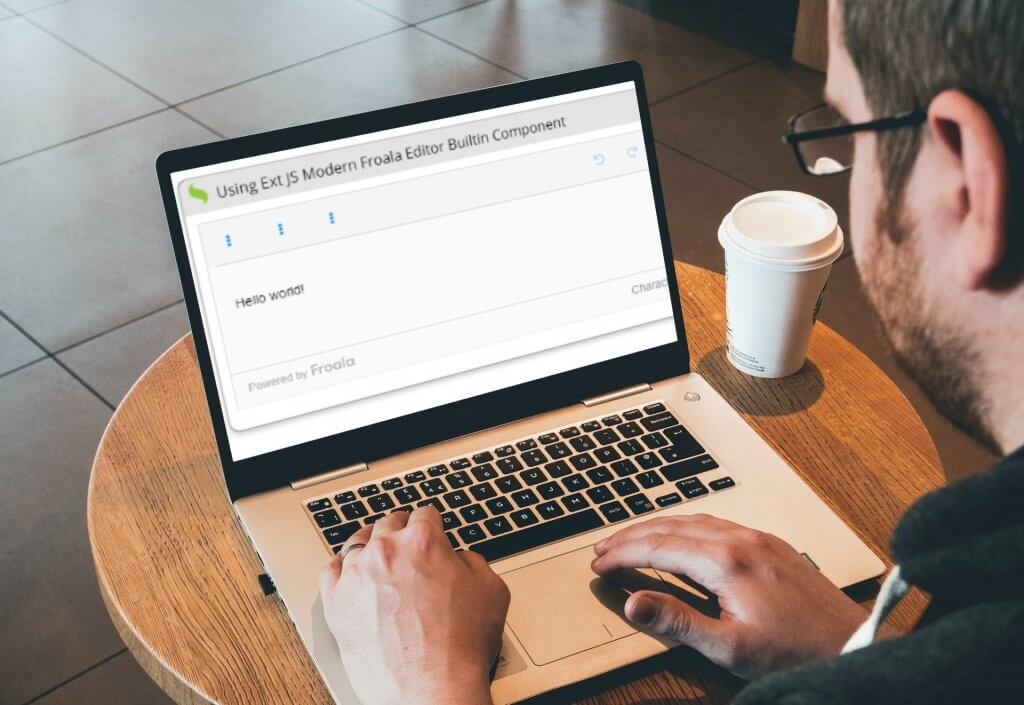
Sencha Ext JS supports two versions of Froala Editor; Ext.froala.Editor and Ext.froala.EditorField. Both the versions are configured and used identically but the field version extends the Ext.field.Field class. As a result, you can give it a name and value which means you can use it in field panels and form panels.
Do do this, use the value config property to specify the editor’s initial value. Because the value config is HTML, it will contain HTML tags.
Here is what the simple Froala Editor Field code looks like.
Ext.create('Ext.Panel', {
    requires: ['Ext.froala.EditorField'],
    renderTo: document.body,
    viewModel: {
        data: {
            html: '<p>Hello world!</p>'
        },
        formulas: {
            encodedHtml: function (get) {
                return Ext.htmlEncode(get('html'));
            }
        }
    },
    title: 'Froala Editor',
    tbar: [{
        xtype: 'label',
        bind: {
            html: '{html}' // Show the HTML with embeded markup
        }
    }],
    bbar: [{
        xtype: 'label',
        bind: {
            html: '{encodedHtml}' // Show the raw HTML content
        }
    }],
    layout: 'fit',
    items: [{
        xtype: 'froalaeditorfield',
        bind: {
            value: '{html}'
        }
    }]
});
In addition to this, the editor config property lets you configure the Froala editor instance. You can use any Froala config documented on the Froala Options page.
A sample editor configuration looks like this:
Ext.create('Ext.Panel', {
    renderTo: document.body,
    requires: ['Ext.froala.EditorField'],
    items: [{
        xtype: 'froalaeditorfield',
        value: 'Hello world!',
        editor: {
            autofocus: true,
            // Look under the "More Text | Font Size" menu
            fontSize: ['10', '12', '16', '24']
        }
    }]
});
How can I integrate Froala events with existing Ext JS apps?
Listening to Froala events is pretty simple in Ext JS. You can use the Ext JS standard listeners config property and listen to native Froala events by using the froala prefix on the event name. You can find more information about Froala Events here.
Ext.create('Ext.Panel', {
    renderTo: document.body,
    requires: ['Ext.froala.EditorField'],
    items: [{
        xtype: 'froalaeditorfield',
        value: 'Hello world!',
        listeners: {
            change: function (froalaComponent) {
                Ext.toast({
                    message: 'Change!'
                });
            },
            // Native Froala events are prefixed with 'froala.'
            'froala.click': function (froalaComponent) {
                Ext.toast({
                    message: 'Click!'
                });
            }
        }
    }]
});
How can I run Froala native methods in Ext JS apps?
So we know that listening to Froala events is possible using the listeners config property, but have you ever wondered how to run Froala native methods inside your Ext JS apps? Sencha Ext JS makes it extremely easy to execute Froala native methods inside your Ext JS application. You just need to get the reference to Froala editor using getEditor() method and then you can run any Froala method you want.
myFroalaComponent.getEditor().charCounter.count()
A full list of Froala native methods is available here.

Want to learn more about using Sencha Ext JS and the Froala Editor in your apps? You can check for detailed and study-oriented documentation in the Sencha guide.
Think you are ready to get started with Froala WYSIWYG HTML Editor and Sencha Ext JS? Head over to Sencha Ext JS and integrate Froala Editor now.


No comment yet, add your voice below!