

Inline React Editor: A Comprehensive Guide to Using Froala’s Inline Mode
Table of contents
- What is the Froala WYSIWYG Editor?
- Setting Up Your React App
- Step 1: Installation
- Step 2: Adding the Editor

- Understanding the final component line-by-line
- Define the App component:
- Render the component:
- Export the App component:
- Customizing the Inline React Editor
- 1. Adding Custom Buttons
- 2. Customizing Styles and Formatting
- 3. Image and Media Handling
- Conclusion

In web development, creating a seamless editing experience is often a necessity.
Whether you’re building a content management system (CMS), a blog platform, or a collaborative document editor, providing a feature-rich and intuitive inline text editor can enhance the user experience.
One tool that stands out for this purpose is the Froala WYSIWYG Editor, which offers an Inline React Editor mode that allows you to embed rich text editing capabilities into your React applications.
In this article, we’ll delve into how to use Froala’s Inline Mode in a React App project.

What is the Froala WYSIWYG Editor?
Before diving into the intricacies of implementing Froala’s Inline Mode in a React-based application, it’s crucial to understand what the Froala WYSIWYG Editor brings to the table.
Froala is more than just another text editor; it’s a powerful JavaScript library designed to deliver a high-quality, user-friendly WYSIWYG (What You See Is What You Get) experience. Unlike traditional text editors, Froala allows for seamless text editing and formatting right within web applications, mimicking the features and capabilities of a full-fledged word processor.
One of the standout features of Froala is its flexibility.
Spotlight: Inline Mode
One feature that deserves special mention is Froala’s Inline Mode. This mode allows you to embed the editor directly within the text of your web page. Instead of switching to a separate editing interface, users can edit text on-the-fly, making the user experience more intuitive and less disruptive.
Setting Up Your React App
To get started with using Froala’s Inline Mode in a React application, you first need to set up your project.
If you haven’t already created a React app, you can do so using Create React App or your preferred method.
Once your project is ready, follow these steps to integrate Froala into your app:
Step 1: Installation
You can install the Froala WYSIWYG Editor for React by running the following command in your project directory:
npm install react-froala-wysiwyg --save
Step 2: Adding the Editor
In the component where you want to use the Froala Inline Editor, import Froala features and code the component:
import "froala-editor/css/froala_style.min.css";
import "froala-editor/css/froala_editor.pkgd.min.css";
import FroalaEditorComponent from "react-froala-wysiwyg";
function App() {
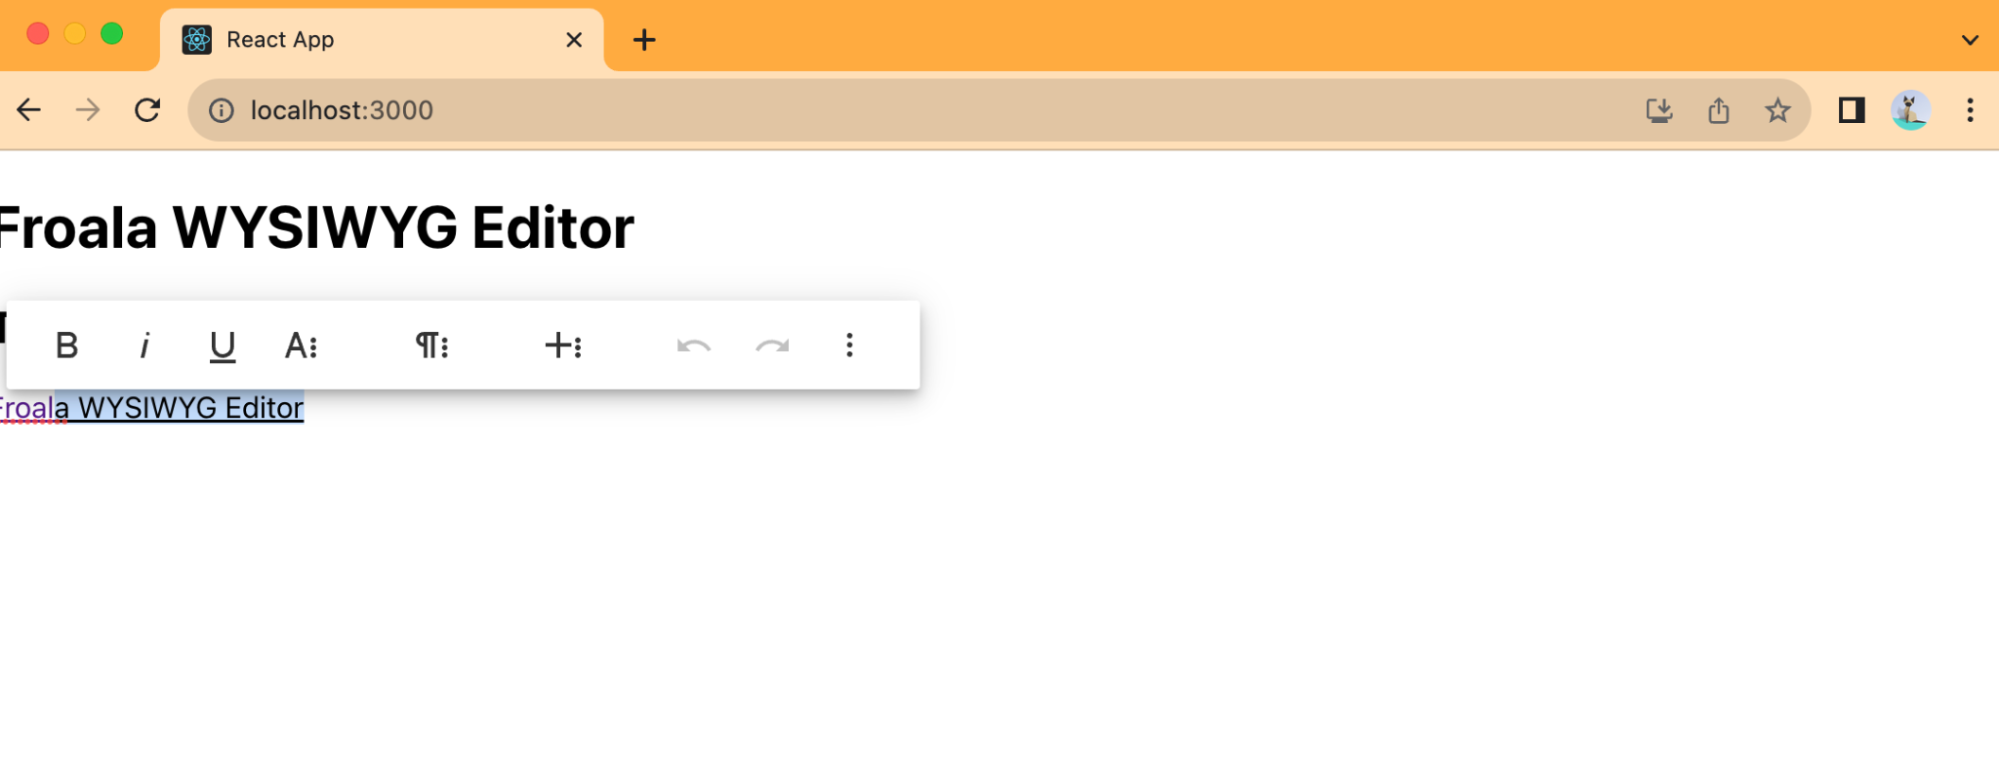
let model = '<p><a href="https://froala.com">Froala WYSIWYG Editor</a></p>';
return (
<div id="froala-editor">
<h1>Froala WYSIWYG Editor </h1>
<h2>Tutorial about Inline React Editor</h2>
<FroalaEditorComponent
tag="textarea"
model={model}
config={{
}}
/>
</div>
);
}
export default App;
In this code snippet, we code the necessary components and plugins for the Froala editor.
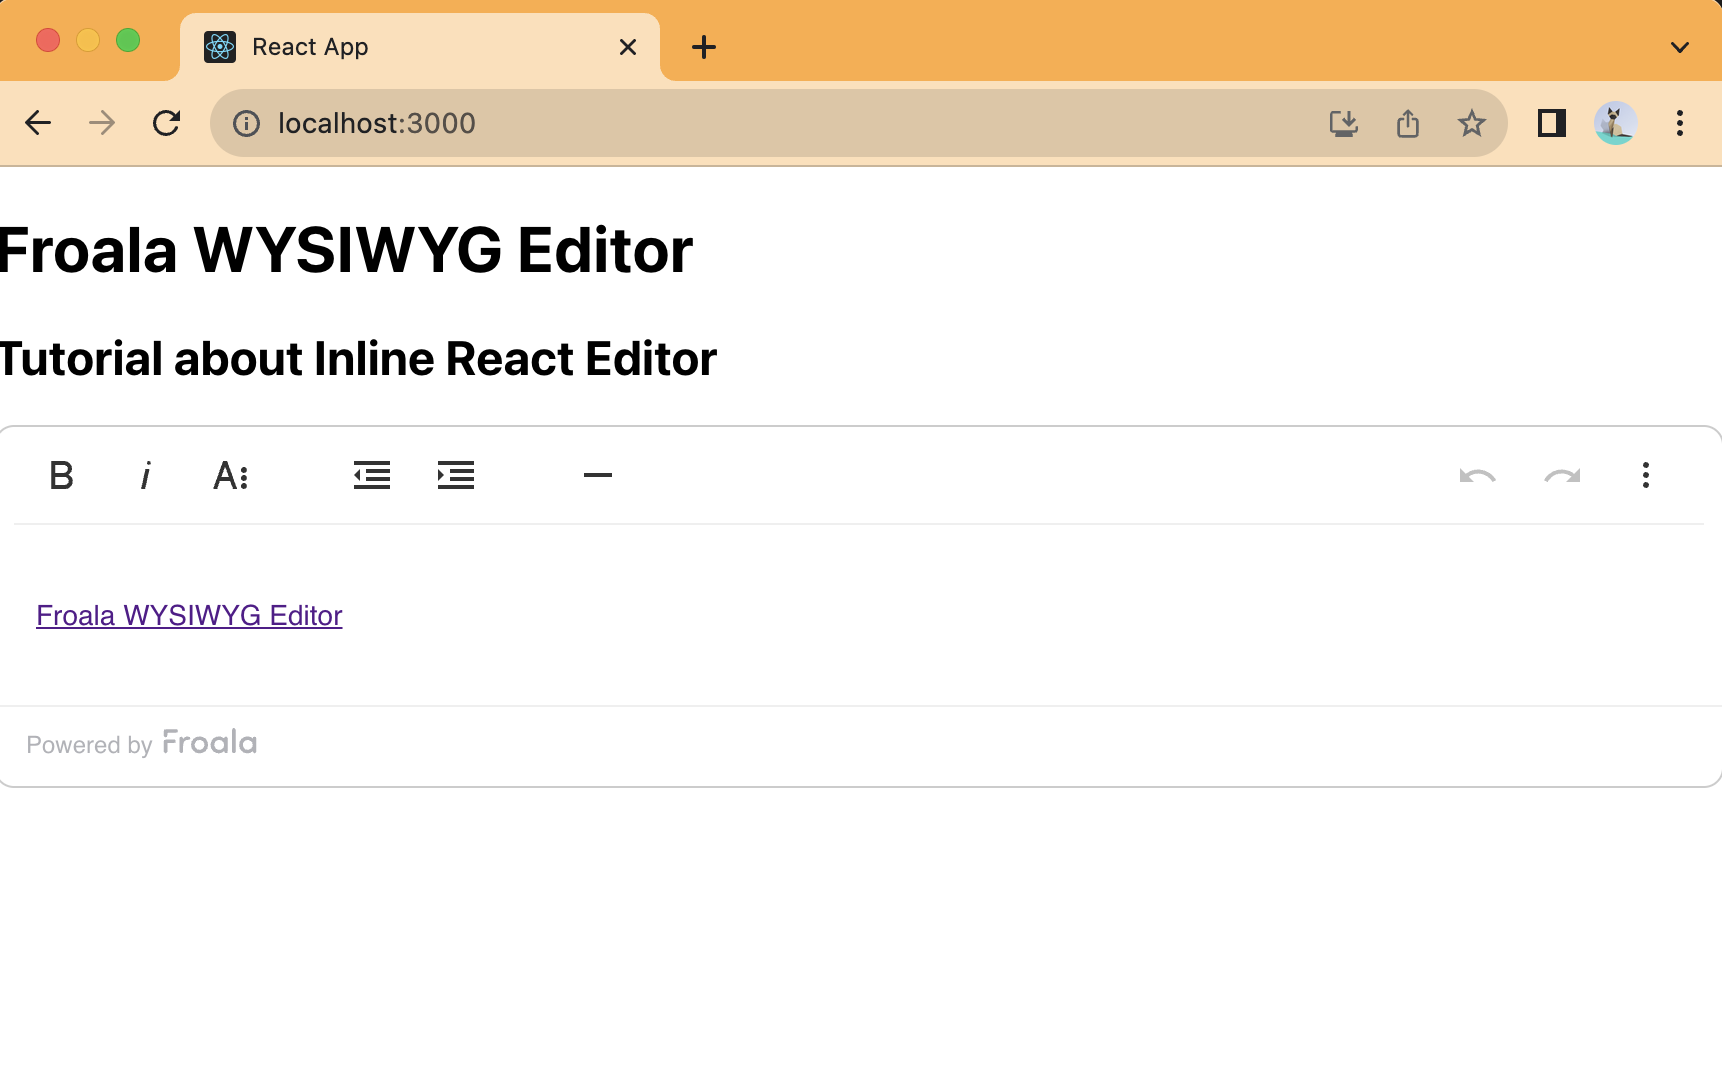
The toolbarInline: true configuration option is what enables the Inline Mode.
    <FroalaEditorComponent

        tag="textarea"

        model={model}

        config={{

          toolbarInline: true

        }}

  />
Understanding the final component line-by-line
This code is a simple React application that uses the Froala WYSIWYG Editor to render a rich text editor on a web page. Let’s break down the code step by step:
import "froala-editor/css/froala_style.min.css";

import "froala-editor/css/froala_editor.pkgd.min.css";
These lines import the necessary CSS stylesheets for the Froala WYSIWYG Editor. These styles define the appearance and layout of the editor.
import FroalaEditorComponent from "react-froala-wysiwyg";
This line imports the FroalaEditorComponent from the “react-froala-wysiwyg” library.
This component is a React wrapper for the Froala WYSIWYG Editor, allowing you to integrate it into your React application.
Define the App component:
function App() {
This is a functional React component named App. It’s the entry point of your application.
let model = '<p><a href="https://froala.com">Froala WYSIWYG Editor</a></p>';
Here, a string variable named model is defined, which contains HTML content. This HTML content will be displayed in the Froala WYSIWYG Editor when the component is rendered.
Render the component:
return (

<div id="froala-editor">

<h1>Froala WYSIWYG Editor</h1>

<h2>Tutorial about Inline React Editor</h2>


<FroalaEditorComponent

tag="textarea"

model={model}

config={{

toolbarInline: true

}}

/>

</div>

);
The return statement contains JSX code that defines the structure of the rendered component.
Inside the div with the id “froala-editor,” there are two heading elements (h1 and h2) providing some context about the editor.
The FroalaEditorComponent is used to render the Froala WYSIWYG Editor itself. It is configured as follows:
tag="textarea": This specifies that the editor should be rendered as a textarea element.model={model}: This sets the initial content of the editor to the HTML content stored in the model variable.config: This is an object that specifies configuration options for the editor. In this case, it setstoolbarInlinetotrue, indicating that the toolbar should be displayed inline with the editor.
Export the App component:
export default App;
This exports the App component so that it can be used in other parts of the application or imported into other files.
In summary, this code sets up a simple React application that displays a Froala WYSIWYG Editor with some initial HTML content.
Users can interact with the editor to edit and format text as needed. The editor’s appearance and behavior are controlled by the configuration options provided in the config object.
You can further customize the editor by adding or removing plugins and adjusting configuration settings to suit your project’s requirements.
Customizing the Inline React Editor
The power of the Froala Inline Mode lies in its customizability. You can tailor the editor’s behavior, appearance, and functionality to align perfectly with your project’s requirements. Let’s explore some common customizations you might want to consider:
1. Adding Custom Buttons
One of the most common customizations is adding custom buttons to the editor’s toolbar. This allows you to extend the editor’s functionality beyond the default options.
2. Customizing Styles and Formatting
Froala allows you to customize the available text formatting options, such as font size, font family, and text color. You can also define custom styles for your project.
3. Image and Media Handling
Integrating media handling capabilities into your inline editor can greatly enhance its usefulness. Froala supports image and media embedding, allowing users to add images, videos, and other multimedia content directly into the text.
Conclusion
Incorporating an Inline React Editor into your web application using Froala’s Inline Mode is a powerful way to enhance the user experience and provide rich text editing capabilities.
With its flexibility, customization options, and straightforward integration, Froala makes it relatively simple to create a feature-rich text editor that suits your project’s needs.
Throughout this article, we’ve covered the essential steps for setting up the Froala Inline Mode within a React application.
We’ve also explored various customization options, from adding custom buttons to handling media uploads, and discussed how to handle user-generated content.
By following these guidelines and experimenting with Froala’s extensive documentation and examples, you’ll be well on your way to implementing a seamless and user-friendly inline text editor in your React project.
Whether you’re building a CMS, a collaborative writing platform, or any application requiring rich text editing, Froala’s Inline Mode can be a valuable addition to your toolkit.


No comment yet, add your voice below!