Froala V4.0.18: Copy and Paste Images Made Better
- Posted on
- By Mostafa Yousef
- In Editor, New Releases
Table of contents
- What’s New in Froala Editor V4.0.18
- Refined Process of Copying and Pasting Images Inside the Froala Editor:
- Refinement Table Editing
- What’s more
- Get Froala V4.0.18
- How Do I Upgrade to V4.0.17?
- For Froala Editor Version 3 and Version 4 Users
- For Froala Editor Version 2 Users:
- Try The Latest Froala Editor
- Change Log
- Get Started
- Support and Feedback
- Technical Questions
- You’re helping us build a better editor

The Froala Editor team is excited to announce the release of Froala Editor 4.0.18. This new version has a lot of improvements to quality and stability, as well as fixes for problems that customers told us about.
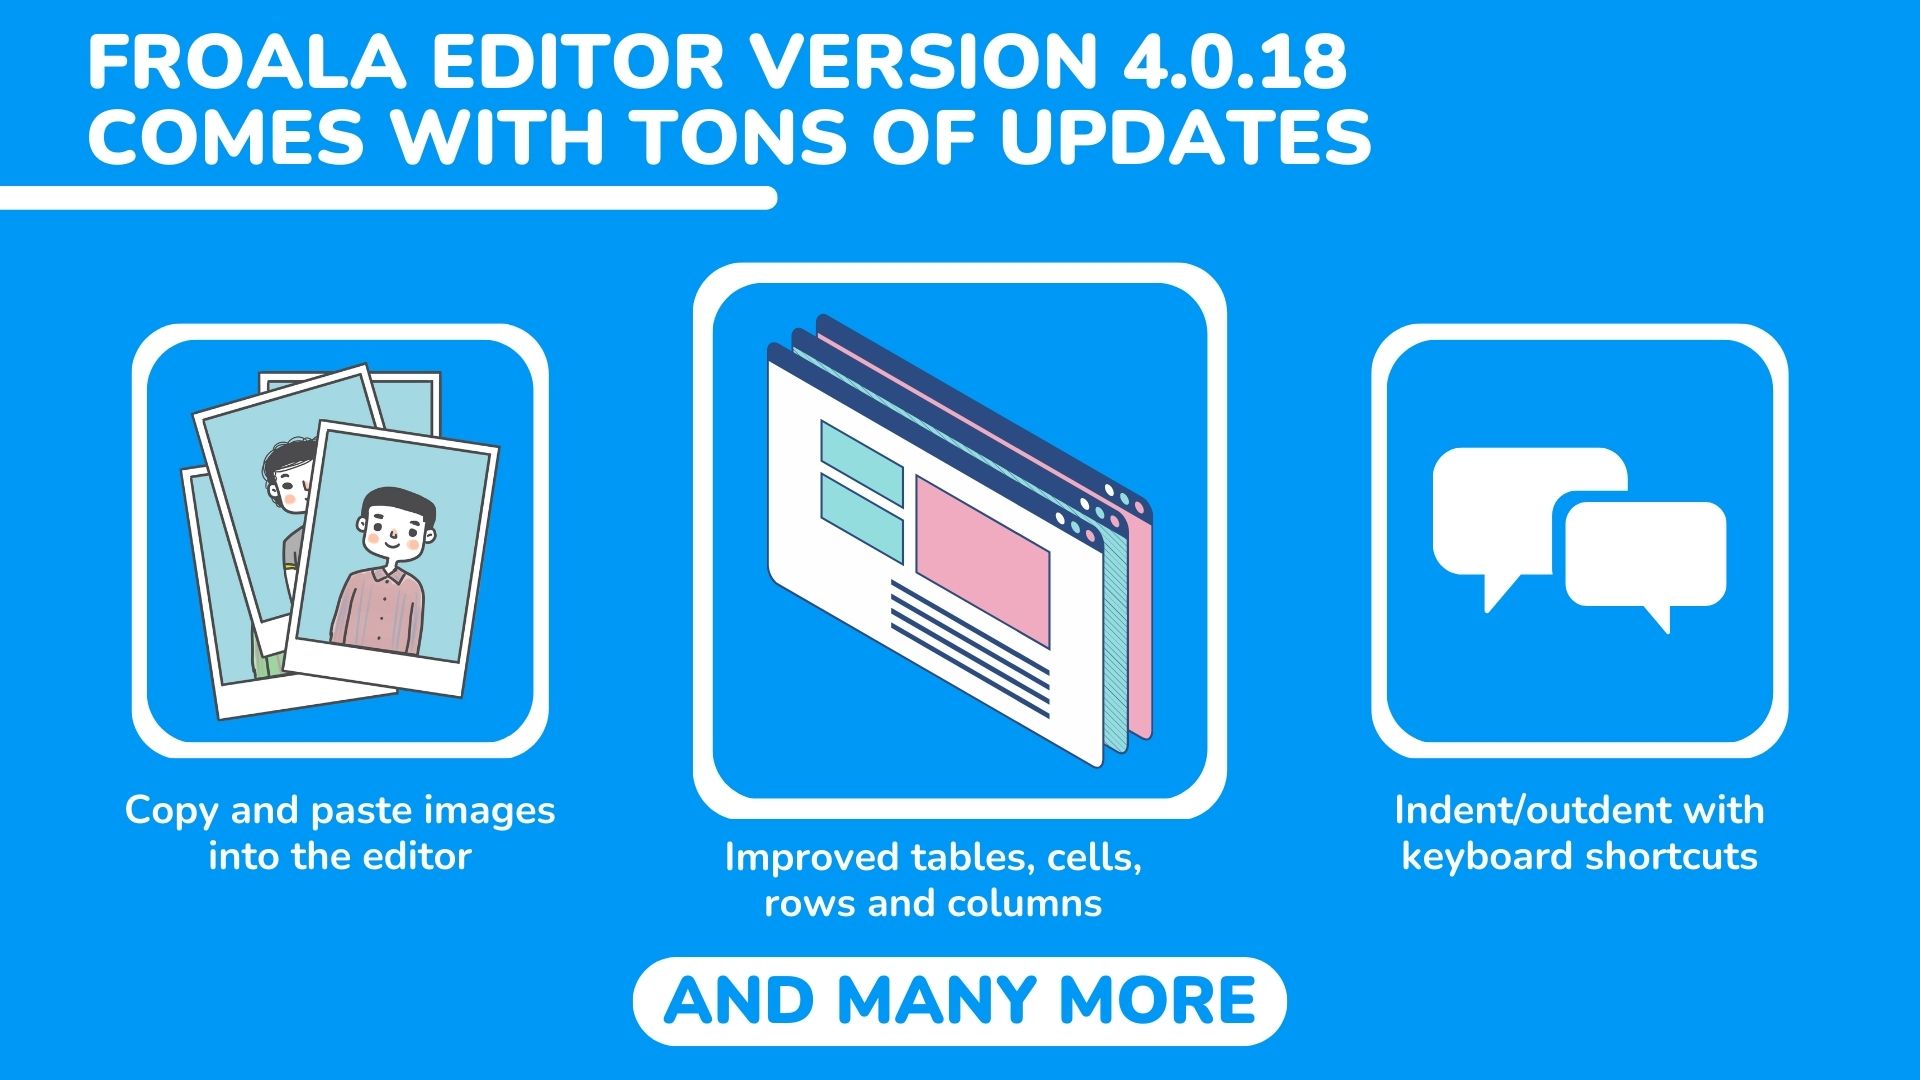
The 4.0.18 release provides a number of benefits for users of the editor. With the bug fixes and improvements, users will be able to edit tables, images, and other content in the editor more easily. This release also contains enhancements that aim to increase users’ productivity.
What’s New in Froala Editor V4.0.18
Refined Process of Copying and Pasting Images Inside the Froala Editor:
When you discover an image you’d like to insert in the editor, you can swiftly paste images into the editor without having to manually upload the file. Simply follow these steps:
- Find the desired image.
- Copy the image (right-click and select ‘Copy image’ or use keyboard shortcuts like `Ctrl+C`).
- Navigate to the editor.
- Paste the image directly into the editor.
This improvement streamlines the process of adding images to your content, saving you time and effort. To ensure successful uploads to your server, configure the API settings correctly:
- Set the imageUpload API option to true, to enable the uploading functionality.
- Set the HTTP image upload request type at the imageUploadMethod API option, by default, it is ‘PUT’.
- When an image is inserted into the WYSIWYG HTML editor, AJAX requests from the editor to the server. The request is sent to the URL you defined in the imageUploadURL API option. Make sure to set this option correctly.
- To store the uploaded image on your server, follow the instructions related to your server on the Froala server integration page. The Froala team also developed several SDKs to get you started on server integration faster.
- After the server completes the image processing, it sends a response to the editor via the API image events, such as:
• image.uploaded event is triggered after a successful image upload request, but before inserting the image in the editor.
• image.inserted event is triggered after inserting the image into the editor.
• image.replaced event is triggered after replacing the image in the editor.
• image.error event is triggered if any errors occur during the upload process.
For more detailed information about image uploading, visit our comprehensive image upload guide.
Front-end Code Example:
<script>

  new FroalaEditor('.selector', {

    // Set the image upload parameter.
    imageUploadParam: 'image_param',

    // Set the image upload URL.
    imageUploadURL: '/upload_image',

    // Additional upload params.
    imageUploadParams: {id: 'my_editor'},

    // Set request type.
    imageUploadMethod: 'POST',

    // Set max image size to 5MB.
    imageMaxSize: 5 * 1024 * 1024,
    // Allow to upload PNG and JPG.
    imageAllowedTypes: ['jpeg', 'jpg', 'png'],

    events: {

      'image.beforeUpload': function (images) {

        // Return false if you want to stop the image upload.

      },

      'image.uploaded': function (response) {

        // Image was uploaded to the server.

      },

      'image.inserted': function ($img, response) {

        // Image was inserted in the editor.

      },

      'image.replaced': function ($img, response) {

        // Image was replaced in the editor.

      },

      'image.error': function (error, response) {

        // Bad link.
        if (error.code == 1) { ... }

        // No link in upload response.
        else if (error.code == 2) { ... }

        // Error during image upload.
        else if (error.code == 3) { ... }

        // Parsing response failed.
        else if (error.code == 4) { ... }
        // Image too text-large.
        else if (error.code == 5) { ... }

        // Invalid image type.
        else if (error.code == 6) { ... }

        // Image can be uploaded only to same domain in IE 8 and IE 9.
        else if (error.code == 7) { ... }

        // Response contains the original server response to the request if available.

      }

    }

  })

</script>
Refinement Table Editing
One of Froala editor’s key features is the ability to easily create and edit tables in a user-friendly manner. Through an innovative table editing popup, Froala gives you the ability to:
- Add/Remove table header
- Add/Remove table footer
- Merge/Split cells
- Add/Delete table rows
- Add/Delete table columns
- Apply a custom style
What’s new in this release:
- In the past releases, if you inserted a column when a row contained both th and td cells, the new cell would be a th cell. Now the editor defaults to inserting td cells, as this is usually the user’s preferred option.
- In the past releases, If the htmlUntouched API option is disabled, merging cells of a table with a header row will distort the cell order. This will no longer happen when you update to the latest release.
- Froala Editor is known for its ability to keep the pasted content format from third-party tools such as Microsoft Word or Excel. When you paste the content into the editor, the editor asks you if you want to keep the pasted content format or not, if you select to keep the pasted content format, the pasted content styles will be preserved. Previously, adding a row or column to a pasted table could remove the table border properties. This will no longer happen when you update to the latest release.
What’s more
By upgrading to the 4.0.18 release, you will be able to:
- Easily indent and outdent paragraphs using the “Tab” and “Shift + Tab“ keys respectively.
- Stick the editor toolbar in the Bootstrap modal. Set the toolbarSticky API option to true to fix the editor toolbar to the top of the viewport while you scroll down.
All these improvements and more come together to make an already powerful WYSIWYG editor even better. Please find the complete changelog list here.
Get Froala V4.0.18
Since version 3.0.1, we’ve made a lot of improvements. We’ve added new features and enhanced the security of the Froala editor without making any breaking changes. This means that if you haven’t updated Froala in a while, you are missing out on a lot. If you update your editor today, which will take less than 5 minutes, you will enjoy a better editing experience that we think you’ll adore.
Updating your editor could also resolve some issues that you or your users might have had before. Don’t hesitate to update your editor today.
How Do I Upgrade to V4.0.17?
Super easy! Follow the steps below to update to the latest version.
For Froala Editor Version 3 and Version 4 Users
Follow the table below to know the proper way of downloading the latest Froala Editor release and how to include it in your project based on your preferred method.
| Method | How to download | Include in your project | |
| CDN | – |
<!-- Include Editor stylesheet--> <link href="https://cdn.jsdelivr.net/npm/[email protected]/css/froala_editor.pkgd.min.css" rel="stylesheet" type="text/css" /> <!-- Include Editor JavaScript file--> <script type="text/javascript" src="https://cdn.jsdelivr.net/npm/[email protected]/js/froala_editor.pkgd.min.js"></script> |
|
| CDN (Always the latest version) | – |
<!-- Include Editor stylesheet--> <link href="https://cdn.jsdelivr.net/npm/froala-editor@latest/css/froala_editor.pkgd.min.css" rel="stylesheet" type="text/css" /> <!-- Include Editor JavaScript file--> <script type="text/javascript" src="https://cdn.jsdelivr.net/npm/froala-editor@latest/js/froala_editor.pkgd.min.js"></script> |
|
| NPM |
npm install froala-editor |
<!--

Replace the {download-folder-path} in the following example with the path to the folder containing the stylesheet file e.g.

../css/froala_editor.pkgd.min.js

-->

<link href="{download-folder-path}/froala_editor.pkgd.min.css" rel="stylesheet" type="text/css" />

<!--

Replace the {download-folder-path} with the path to the folder containing the JS file e.g.

../js/froala_editor.pkgd.min.js

-->

<script type="text/javascript" src="{download-folder-path}/froala_editor.pkgd.min.js"></script>
|
|
| bower |
bower install froala-wysiwyg-editor |
||
| NO Package Manager | Download Froala WYSIWYG Editor files using the download form here. | ||
| Integrated with a Framework | Select your preferred framework from 17 different popular frameworks like React, Angular, and Vue. | ||
| Other options | Check here for other options to use Froala WYSIWYG Editor in your project. | ||
For Froala Editor Version 2 Users:
Follow this migration guide to get step-by-step instructions on how to upgrade from version 2.
Try The Latest Froala Editor
Explore a variety of examples that show you the functionality in Froala HTML Editor.
If you like to see the HTML output while trying Froala, use Froala Online HTML Editor.
Change Log
- Please visit the release notes for a complete list of changes.
Get Started
- You can download and start using Froala in less than five minutes following our get started guide.
Support and Feedback
- We’d love to hear what you think of the latest release! Join us on GitHub Community to chat with product managers, developers, and other members of the Froala team.
Technical Questions
- If you have a technical question, you can check to see if we already answered it in our help center. If not, contact our Support team.
You’re helping us build a better editor
Thank you for using Froala. With your support, we’re working to make WYSIWYG editing more enjoyable, accessible, and beneficial for everyone.


No comment yet, add your voice below!