

How to integrate Froala with React

Earlier this week, Froala announced its most impressive editor release ever 4.1. This release was eagerly anticipated by React developers since it supports React 18. This means you can now easily include a React WYSIWYG editor component in your React application made using Froala, the top WYSIWYG editor.
Froala provides a modern user interface React WYSIWYG editor equipped with hundreds of features including a powerful API, basic and advanced rich text editing functions, SEO-friendly content, accessibility support, security, and compatibility with MS Word, Excel, and Google documents.
In this article, we will demonstrate how to initialize Froala’s editor in a React application using Froala’s React SDK.
We assume you have a working knowledge of:
- JavaScript (including some of the newer, es2015 features)
- React
- How to use the terminal/command line
- Node and npm
We will create a simple application and guide you step-by-step through this tutorial. There will be a working demo at the end of the article.

Step 1: Creating A React App.
Skip this step if you will install the editor in an existing React app.
- Open the Node.js command prompt
- Navigate to the location where you want to install the React app.
- Since we don’t have a running React app. we will create a new React application using a package called
create-react-app. To install the package runnpm install -g create-react-app
Note:
If you’ve previously installedcreate-react-appit globally vianpm install -g create-react-app, we recommend uninstalling the package usingnpm uninstall -g create-react-apporyarn global remove create-react-app. Then install it again to ensure that npx always uses the latest version. - Run:
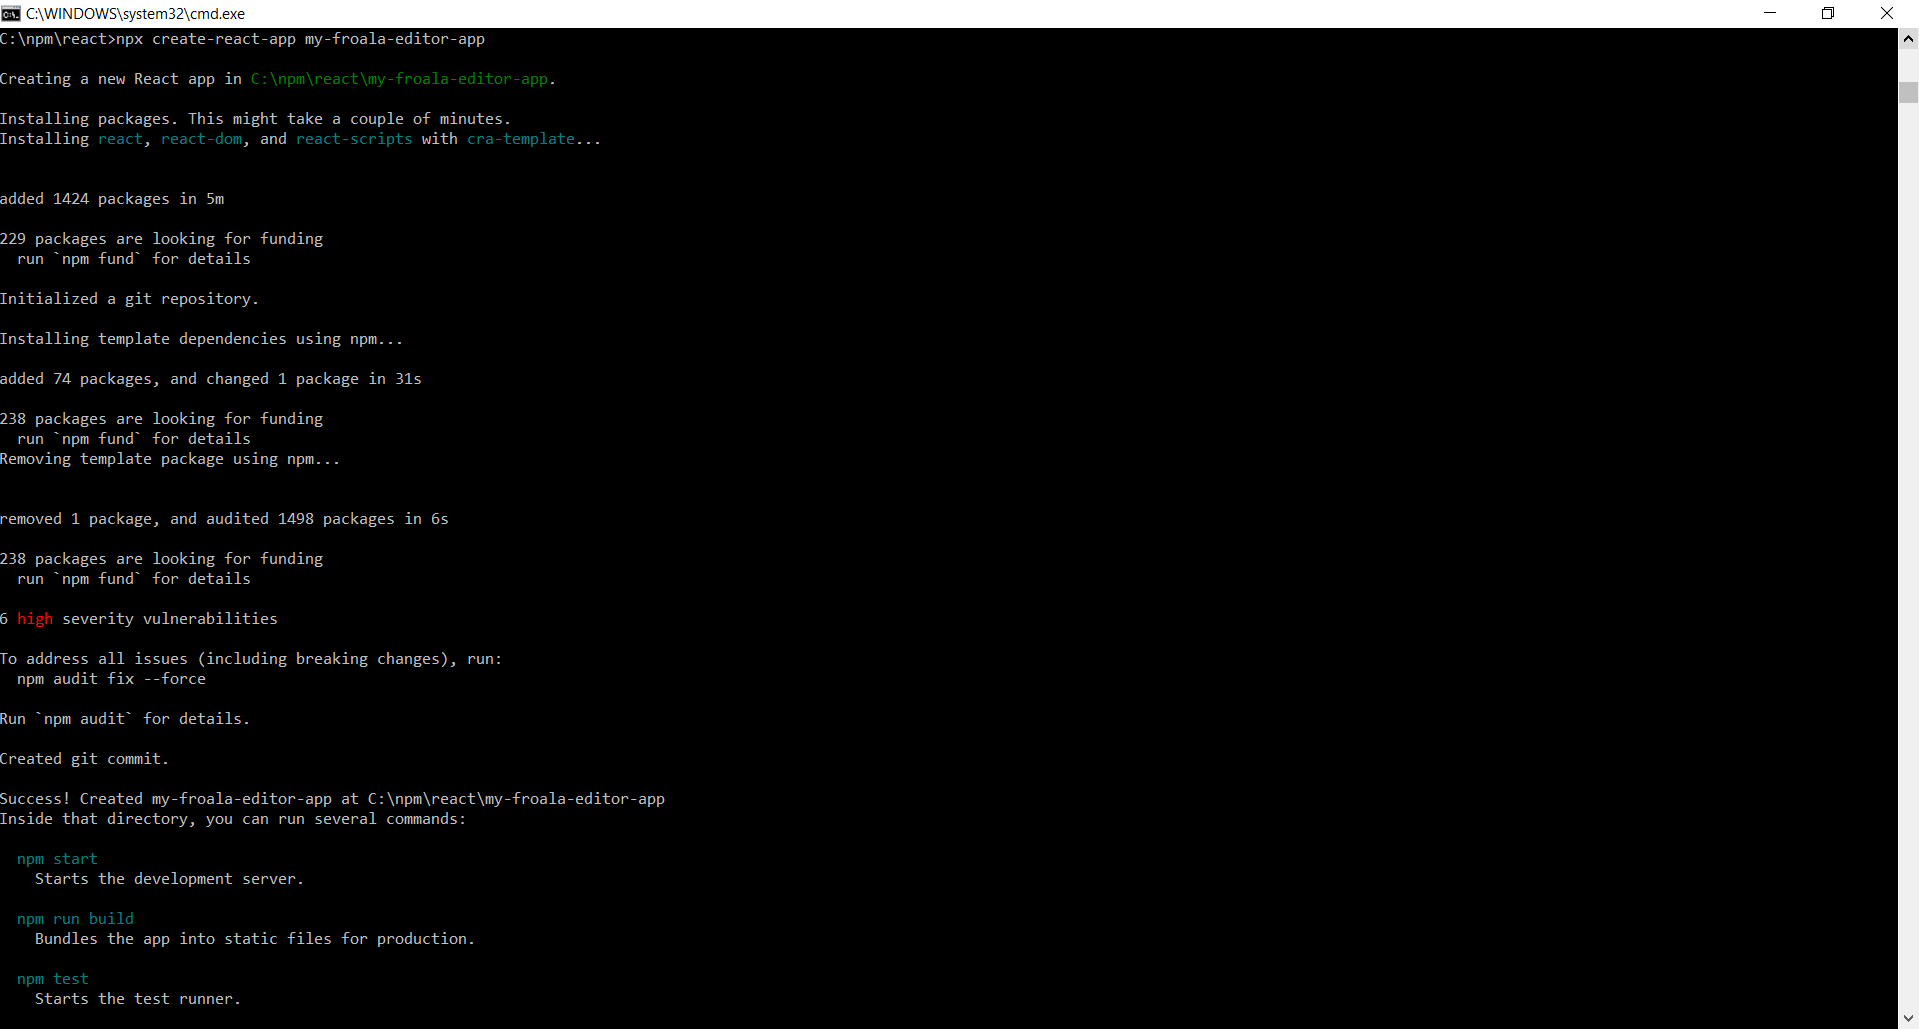
npx create-react-app my-froala-editor-app
A command which creates a React app.

After running this command, if you go to the specific location you will find a folder called
my-froala-editor-appcontaining the React app files.
Step2: Installing Froala
Navigate to the my-froala-editor-app folder via your terminal/command line window.
cd my-froala-editor-app
Once inside, install Froala’s React SDK by running the following command:
npm install react-froala-wysiwyg --save
Don’t forget, the --save flag is important as it adds the installed NPM package to the dependencies in your package.json file. This ensures that the Froala editor is included in your deployed application.

Check your application’s node_modules directory or the package.json file for a successful installation of the Froala library. The react-froala-wysiwyg should now be present
Step3: Displaying the Froala Editor
Once you have installed the Froala React SDK, you can display the editor in any existing component by nesting <FroalaEditorComponent tag='textarea'/> into it.
As a test, open the app.js file in the src folder and edit it as follows:
-
- First, import the editor CSS stylesheet so the editor UI appears correctly
// Require Editor CSS files.
import 'froala-editor/css/froala_style.min.css';
import 'froala-editor/css/froala_editor.pkgd.min.css';
Note:
froala_style.min.css: Only needed if you display the editor content outside the rich text editor to preserve the look of the edited HTML.
froala_editor.pkgd.min.css: Contains the editor UI styles, such as the toolbar, buttons, popups, etc. - Import
FroalaEditorComponentso you can use the component inside the app functionimport FroalaEditorComponent from 'react-froala-wysiwyg';
- Place a
<FroalaEditorComponent tag='textarea'/>where you want the editor to appear. I will add it under the<header>element. Theapp.jsshould now look like thisimport logo from './logo.svg'; import './App.css'; import 'froala-editor/css/froala_style.min.css'; import 'froala-editor/css/froala_editor.pkgd.min.css'; import FroalaEditorComponent from 'react-froala-wysiwyg'; function App() { return ( <div className="App"> <header className="App-header"> <img src={logo} className="App-logo" alt="logo" /> <p> Edit <code>src/App.js</code> and save to reload. </p> <a className="App-link" href="https://reactjs.org" target="_blank" rel="noopener noreferrer" > Learn React </a> </header> <FroalaEditorComponent tag='textarea'/> </div> ); } export default App; - That’s it, run the app using the command
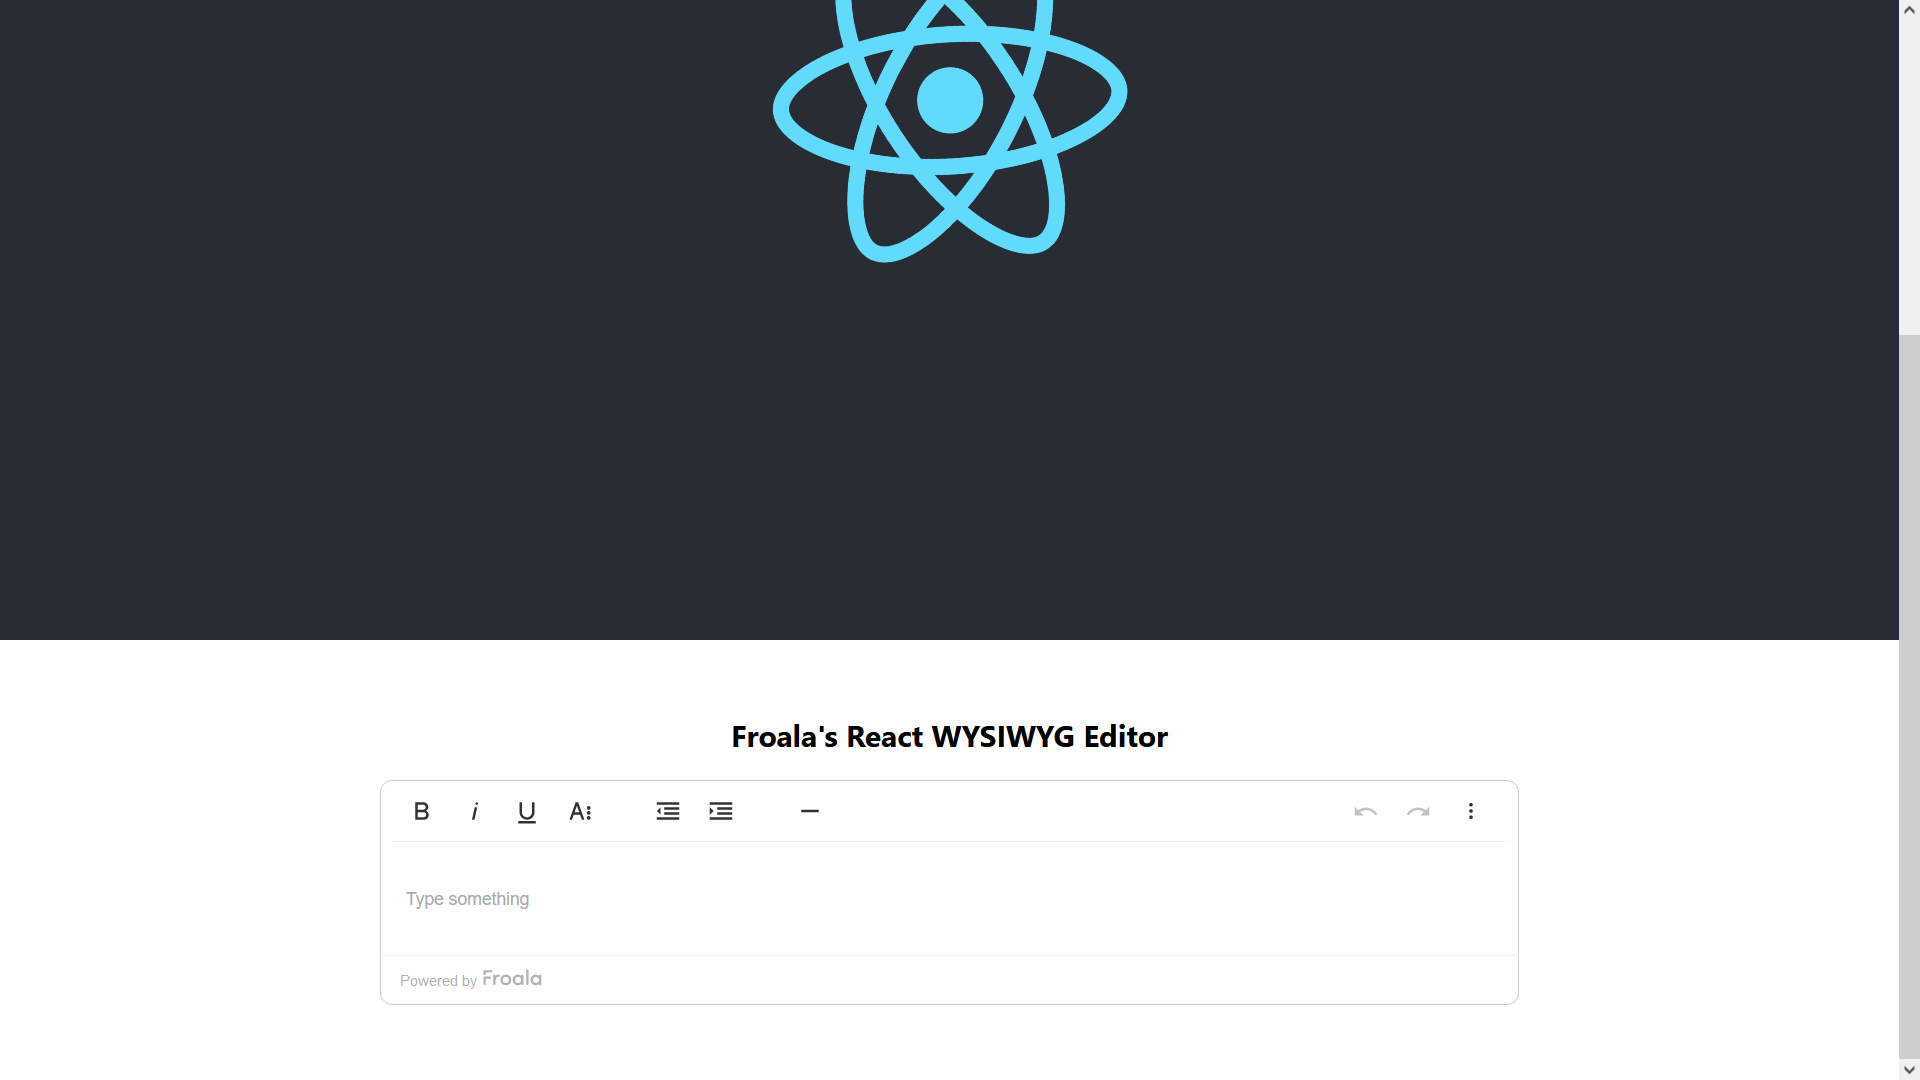
npm start - The http://localhost:3000 should be open automatically on your browser and that app now is running. Scroll down and you will find the Froala editor displayed with its basic configuration under the default React header
- First, import the editor CSS stylesheet so the editor UI appears correctly
Step4: Create a custom Froala Editor component
As you can see it is very simple to install and use the Froala editor inside your application. However, since most developers will need to customize the editor function and style to their needs before displaying it, let’s see how we can do this.
Ideally, you will need to create a custom React component. Component files are where you define the structure, the UI logic, and the component’s specific behaviors, including state handling and methods that get executed in response to user actions.
React supports two types of components:
- Class component
- Functional component
There are a few fundamental differences between the class and functional components:
- Syntax: Class components are written as ES6 classes, while functional components are simple JavaScript functions.
- Lifecycle Methods: Class components allow you to use lifecycle methods (like
componentDidMount,componentDidUpdate, andcomponentWillUnmount). Prior to React 16.8, functional components did not have this ability. However, with the introduction of Hooks in React 16.8, you can now use features like state and lifecycle methods in functional components usinguseEffect. - State Management: Before React 16.8,
statecould only be used in class components. Now, however, with the introduction of theuseStateanduseReducerhooks, you can use state in functional components too. ThisKeyword: In class components, thethiskeyword is used to access props, state, and methods. In functional components, there’s nothiskeyword, and props are passed in as a function argument.- Boilerplate & Readability: Class components often require more code than functional components. And due to the simplicity of functional components, especially with hooks, they can lead to more readable code for some developers.
Froala SDK can be used in both types as declared in the SDK documentation. In this article, we will use the functional component.
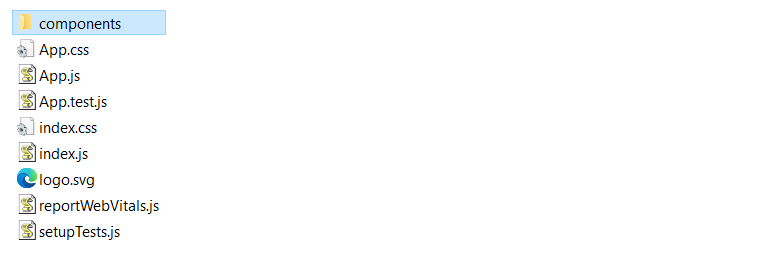
Create a new directory in the src directory called components and create a file called FroalaBasicEditorComponent.jsx in that directory. Feel free to use a different name but remember to write it correctly in the code.
Similar to what we did in the App.js we will import the editor styles, and the editor component and call it inside whatever HTML markup we want. The EditorComponent.jsx now should be like
import React from 'react';

// Require Editor CSS files.

import 'froala-editor/css/froala_style.min.css';

import 'froala-editor/css/froala_editor.pkgd.min.css';

import FroalaEditorComponent from 'react-froala-wysiwyg';

// Render Froala Editor component.

function EditorComponent (){

return (

<div class="editor">

<h3> Froala's React WYSIWYG Editor</h3>

<FroalaEditorComponent tag='textarea'/>

</div>

);

}

export default EditorComponent;
As you can see, we simply return a header and put FroalaEditorComponent inside a div with class editor. Finally, we export the new component so we can import it into other components.
Now we can remove the lines we added previously to the App.js file and add the following:
import EditorComponent from './components/EditorComponent';
and <EditorComponent /> replaces <FroalaEditorComponent tag='textarea'/> so App.js should look like this:
import logo from './logo.svg';

import './App.css';

import EditorComponent from './components/EditorComponent';

function App() {

return (

<div className="App">

<header className="App-header">

<img src={logo} className="App-logo" alt="logo" />

<p>

Edit <code>src/App.js</code> and save to reload.

</p>

<a

className="App-link"

href="https://reactjs.org"

target="_blank"

rel="noopener noreferrer"

>

Learn React

</a>

</header>

<EditorComponent />

</div>

);

}

export default App;
and if you open http://localhost:3000 you will see it display the same page layout as it is. Now we will customize the EditorComponent.jsx to customize the editor.
Let’s create a custom stylesheet file called EditorComponent.css where we can style the HTML elements related to the component. For example, centering the “.editor” div
.editor{

width: 60%;

margin: 60px auto;

}
We should then import that CSS file inside the EditorComponent.jsx like this
import './EditorComponent.css';
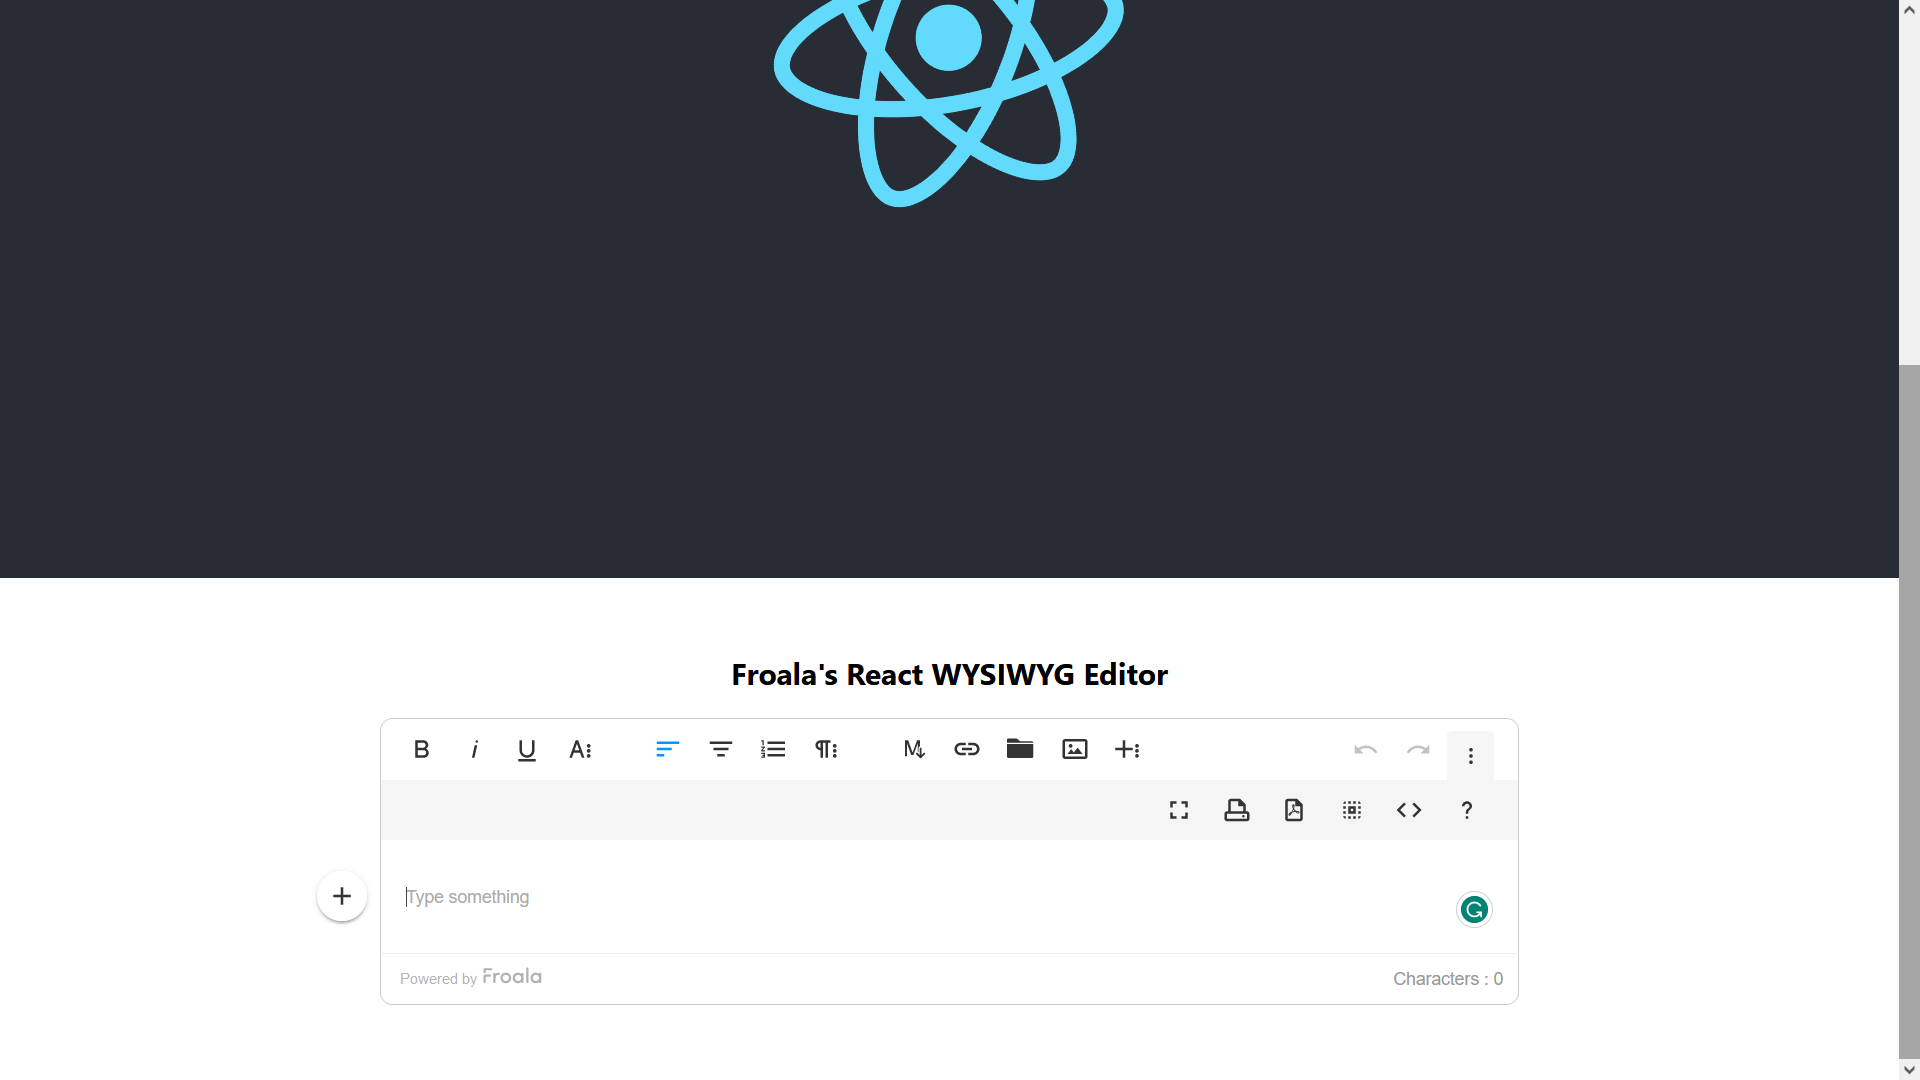
Now let’s customize the editor to load all plugins:
To load the full-featured editor, simply import the plugins JS file
// Import all Froala Editor plugins;
import 'froala-editor/js/plugins.pkgd.min.js';
Now the editor turns out to be like this
More customizations
The Froala editor has a powerful API with more than a hundred options, events, and methods. For example, you can use the API options to turn the editor into a document editor. Easily pass the desired options in the config object while calling the FroalaEditorComponent in your component.
function EditorComponent (){

    let config = {
      documentReady: true,
      heightMin: 300,
      events : {
        'contentChanged' : function(e, editor) {
          console.log('test');
        }
      }
    };

  return (

      <div class="editor">
        <h2> Froala's React WYSIWYG Editor</h2>
       <FroalaEditorComponent tag='textarea' config={config} />
      </div>
  );

}

export default EditorComponent;
Similarly, the events are also passed through the config object. For example:
function EditorComponent (){

    let config = {
      documentReady: true,
      heightMin: 300,
      events : {
        'contentChanged' : function(e, editor) {
          console.log('test');
        }
      }
    };

  return (

      <div class="editor">
        <h2> Froala's React WYSIWYG Editor</h2>
       <FroalaEditorComponent tag='textarea' config={config} />
      </div>
  );

}

export default EditorComponent;
There is a lot you can do with Froala, such as changing the default language, changing the editor theme, adding a custom button, and loading a special component. Later, we will have dedicated articles about this.
For now, have fun with Froala’s React WYSIWYG editor demo.


No comment yet, add your voice below!